


You've probably heard about the virtues of deploying applications in containers for greater consistency, security, and scalability in your test and production environments. But what about development? Can containers offer similar benefits during the development phase of a project? In fact, containerizing your dev environment does have a number of advantages:
- Develop and test in the same environment to which you deploy.
- Quickly reproduce a consistent development environment across machines and team members.
- Isolate projects so they can use different dependency versions and configurations without impacting your local setup.
Now that we know some of the benefits of developing inside a container, it begs the question, how would we go about doing that? For Visual Studio Code, the answer lies in a free plugin called "Remote - Containers". With this plugin, you can easily launch a new development environment in a Docker container and share the configuration with others on your team so they can use the exact same setup.
Prerequisites
Before getting started with remote containers, make sure you've completed the following steps:
- Install and start Docker Desktop. (After installation, run
docker psfrom the command line to verify that it's installed and running. If you don't get an error, you're all set.) - Install VS Code.
- Install the "Remote - Containers" extension from either the extensions tab inside of VS Code or from the command line like this:
$ code --install-extension ms-vscode-remote.remote-containers
After the extension is installed, you'll see a colored icon in the bottom left corner of VS Code that looks like a pair of angle brackets:
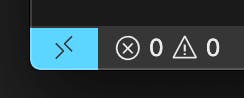
As detailed below, clicking on this icon will display a list of commands for managing remote containers.
Create the Project
Let's say we're building a basic Node.js Express application and we'd like to leverage remote containers to create a reproducible development environment for the whole team. First, let's create a directory for our project and launch VS Code:
$ mkdir node-rc && cd $_
$ code .
This will launch VS Code and open the node-rc project from the local file system, as usual. To move this project into a Docker container, simply click the remote containers icon in the bottom left corner and select "Remote-Containers: Reopen in Container" and then select the "Node.js" container configuration definition followed by the Node version to use. This will start the local project running in a Docker container with Node.js already installed. Verify this by checking the Node version from VS Code's integrated terminal (ctrl+` keyboard shortcut):

Notice that in the container, your project is stored in the /workspaces/node-rc directory. The first word in green indicates that you're currently connected to the container as the "node" user.
Aside from the terminal window, you'll also be able to tell that you're in a remote container because the icon in the bottom left corner will display the name of the container that's currently running:

As we'll see shortly, the user account and container name can be configured in the devcontainer.json file that's automatically generated when you open the container.
Switch Between Configurations
You can toggle between local and container configurations by clicking the remote containers icon and selecting "Remote-Containers: Reopen Locally" or "Remote-Containers: Reopen in Container". This is possible because the remote container is automatically mounted to a shared volume in the local file system. In other words, whether you're using a local or container configuration, your project files will always be persisted in the local file system rather than the container's ephemeral file system.
Manage Extensions
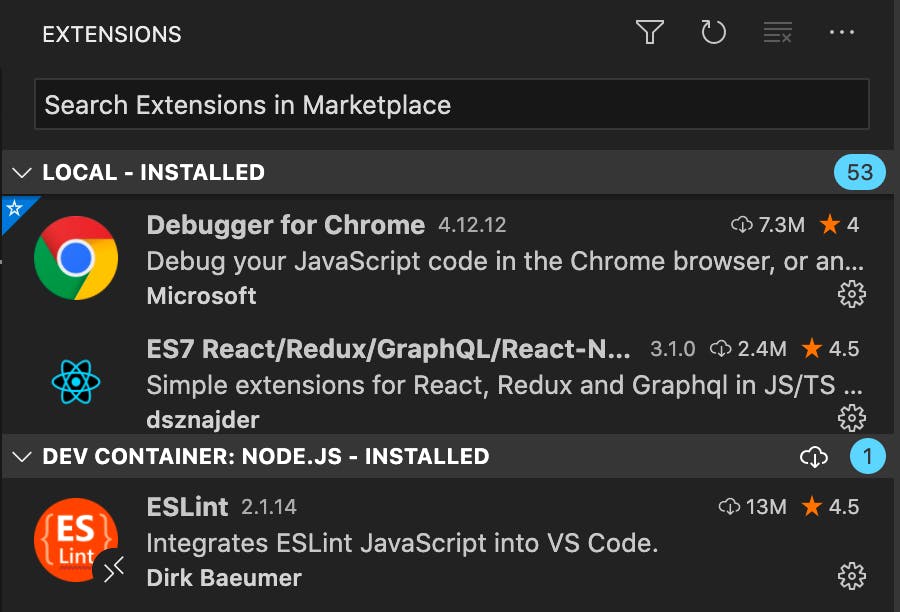
You may have noticed that your VS Code environment looks a little different when opened in a remote container. This is due to the fact that the container project doesn't include any of the extensions that you've added to your local environment. To illustrate, by clicking on the extensions icon I can see that I have 53 local extensions installed but only one in my dev container:
With remote containers, each VS Code project can be configured to include only the extensions that are appropriate for it. This makes a lot of sense since a Node.js application likely requires a very different set of extensions than a Go or Python project. In a moment we'll learn how to specify which extensions should be installed in each project's remote container.
NOTE: Extensions that impact the UI, such as themes and snippets, are always installed locally but are still available when running in a container since this functionality is unlikely to be project-specific.
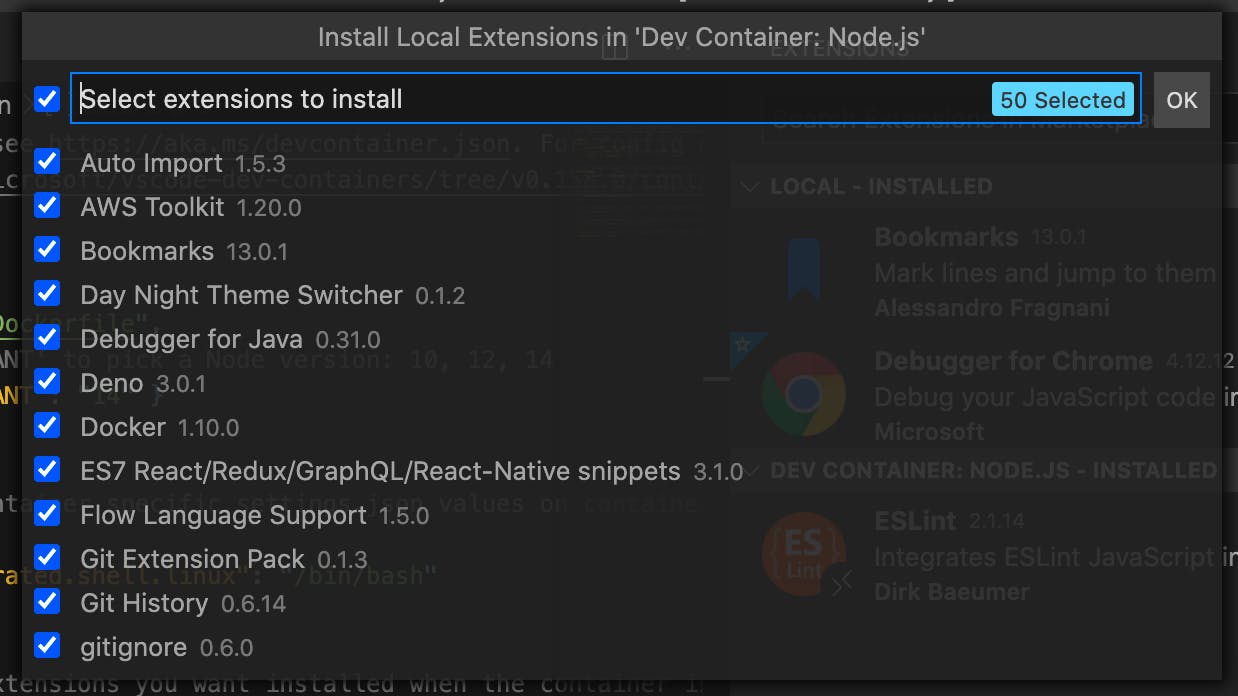
What if you'd like to add some extensions to the remote container that you've already installed locally? Fortunately, VS Code provides a shortcut to allow you to do that very easily. Just click the "download from cloud" icon as shown next to the blue circle with the number "1" in the image above. This will display a dialog box that allows you to select the local plugins that you'd like installed in the remote container. You can even select the checkbox at the top in order to select them all.
Unfortunately, this only installs the selected extensions in the currently running container. In order to persist the extensions when the container is rebuilt, they must be added to the devcontainer.json file. This can be done manually by adding the extension IDs to the devcontainer.json file's "extensions" property as we can see with the ESLint extension here:
// Add the IDs of extensions you want installed when the container is created.
"extensions": [
    "dbaeumer.vscode-eslint"
],
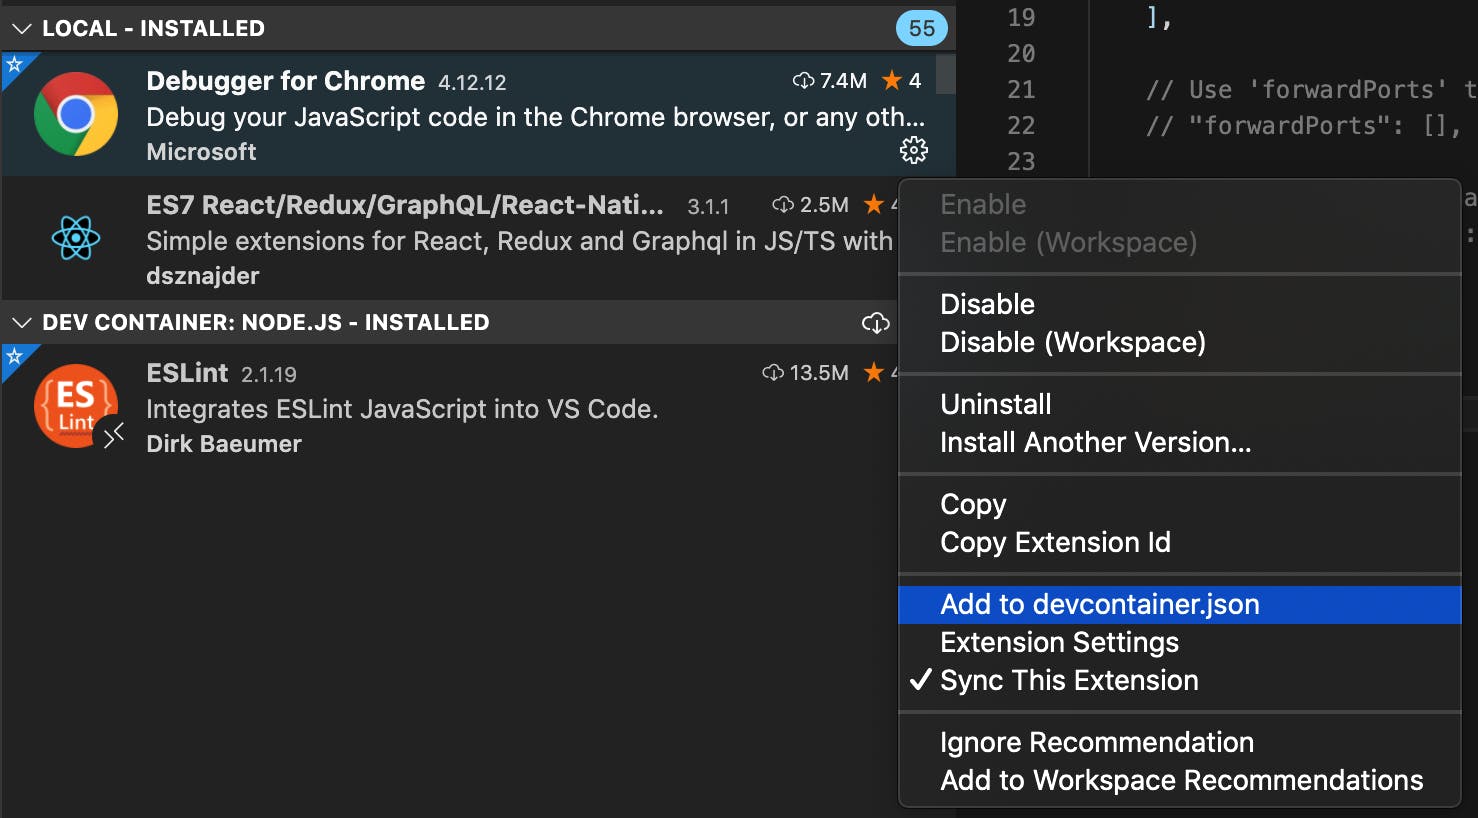
To find an extension's ID, select the extensions tab, click on the gear icon for the extension that you'd like to add, and then click "Copy Extension Id" to capture the correct ID to the clipboard. Though that works, a simpler approach is to click the gear icon for the extension to add and then choose "Add to devcontainer.json". This will perform the copy and paste operation in one step!
Configure Dev Container
After a project is opened in a container, the following directory structure will automatically be created in the project's root directory:
.devcontainer/
├─ devcontainer.json
└─ Dockerfile
The devcontainer.json file specifies configuration information for the dev container including:
- Container name
- Docker file used to build the container image
- Custom VS Code settings for the dev environment
- Extensions to install
- Ports to make available locally
- Commands to run after the container is created
- User account to use when running within container
The "Remote - Containers" extension also generates a Dockerfile in the .devcontainer folder that is based on an image that has Node.js already installed. Here are the image settings in the generated Dockerfile:
# [Choice] Node.js version: 14, 12, 10
ARG VARIANT="14-buster"
FROM mcr.microsoft.com/vscode/devcontainers/javascript-node:0-${VARIANT}
In this case, the selected version is Node 14 as shown by the "14-buster" image name.
TIP: Commit the .devcontainer folder to your source control system in order to share a consistent development environment with your team.
Create and Debug Express App
Finally, let's quickly build a basic Express application in the container and run it. We'll use the handy express-generator application to build out a starter application:
$ npx express-generator --force
$ npm install
After creating the app and installing its dependencies, we can run it in debug mode by just pressing the "F5" key and selecting the "Node.js" environment. VS Code will automatically run the "start" script defined in the package.json file which starts the Express application. You should now be able to make a request to http://localhost:3000/ and get a "Welcome to Express" response from your remote container.
Since the app is running in debug mode, you can set breakpoints anywhere you'd like. For example, to pause execution whenever the root URL is loaded, add a breakpoint to the home page route in the routes/index.js file and reload the page in the browser. You should hit the breakpoint like this:

Now you're debugging an Express application from inside of your development container!
Conclusion
The "Remote - Containers" extension in VS Code makes it very simple to quickly spin up a development environment that is specifically configured for each project and consistent across your entire team. Give it a try! Perhaps the use of remote containers in your organization will make the common "works on my machine" excuse a thing of the past.
Cover photo by Ian Taylor on Unsplash